Overview
You can use the Editor to generate and edit audio and/or video. You can:- Paste text directly to create audio/video (and edit as required)
- Edit text imported through our API, Magic Embed, or CMS plugins
Use the Editor to generate audio and/or video
Open the Editor
In your project, go to the Content section and click
"+ Article" to open the Editor.Paste your text
Paste your article text into the Editor. Paragraphs will be automaticlally split into segments and assigned the the default project language and voice.
Use the Editor to modify articles
Open the Editor
In your project, go to Content > Articles, and click the title of your chosen article.
Left sidebar
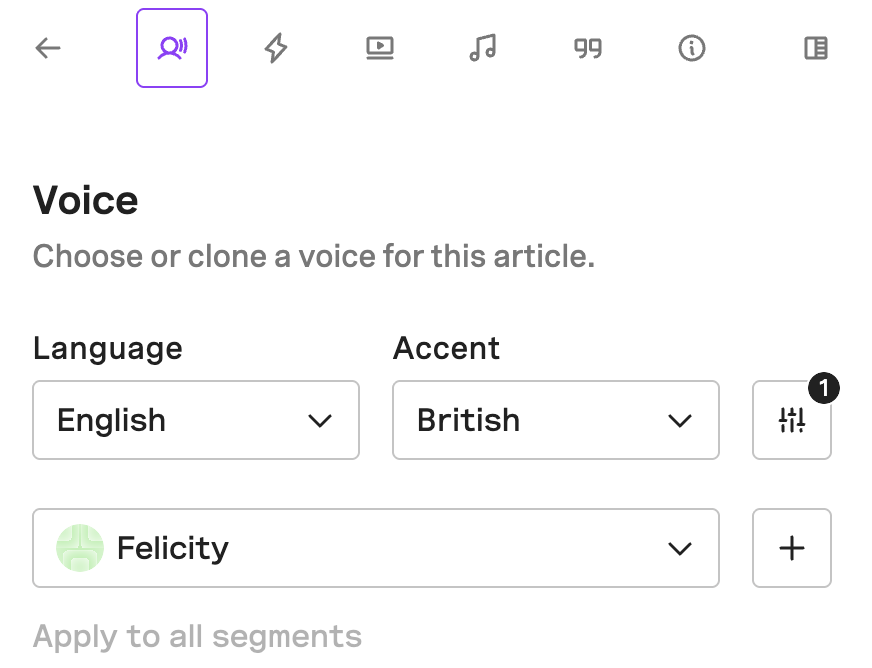
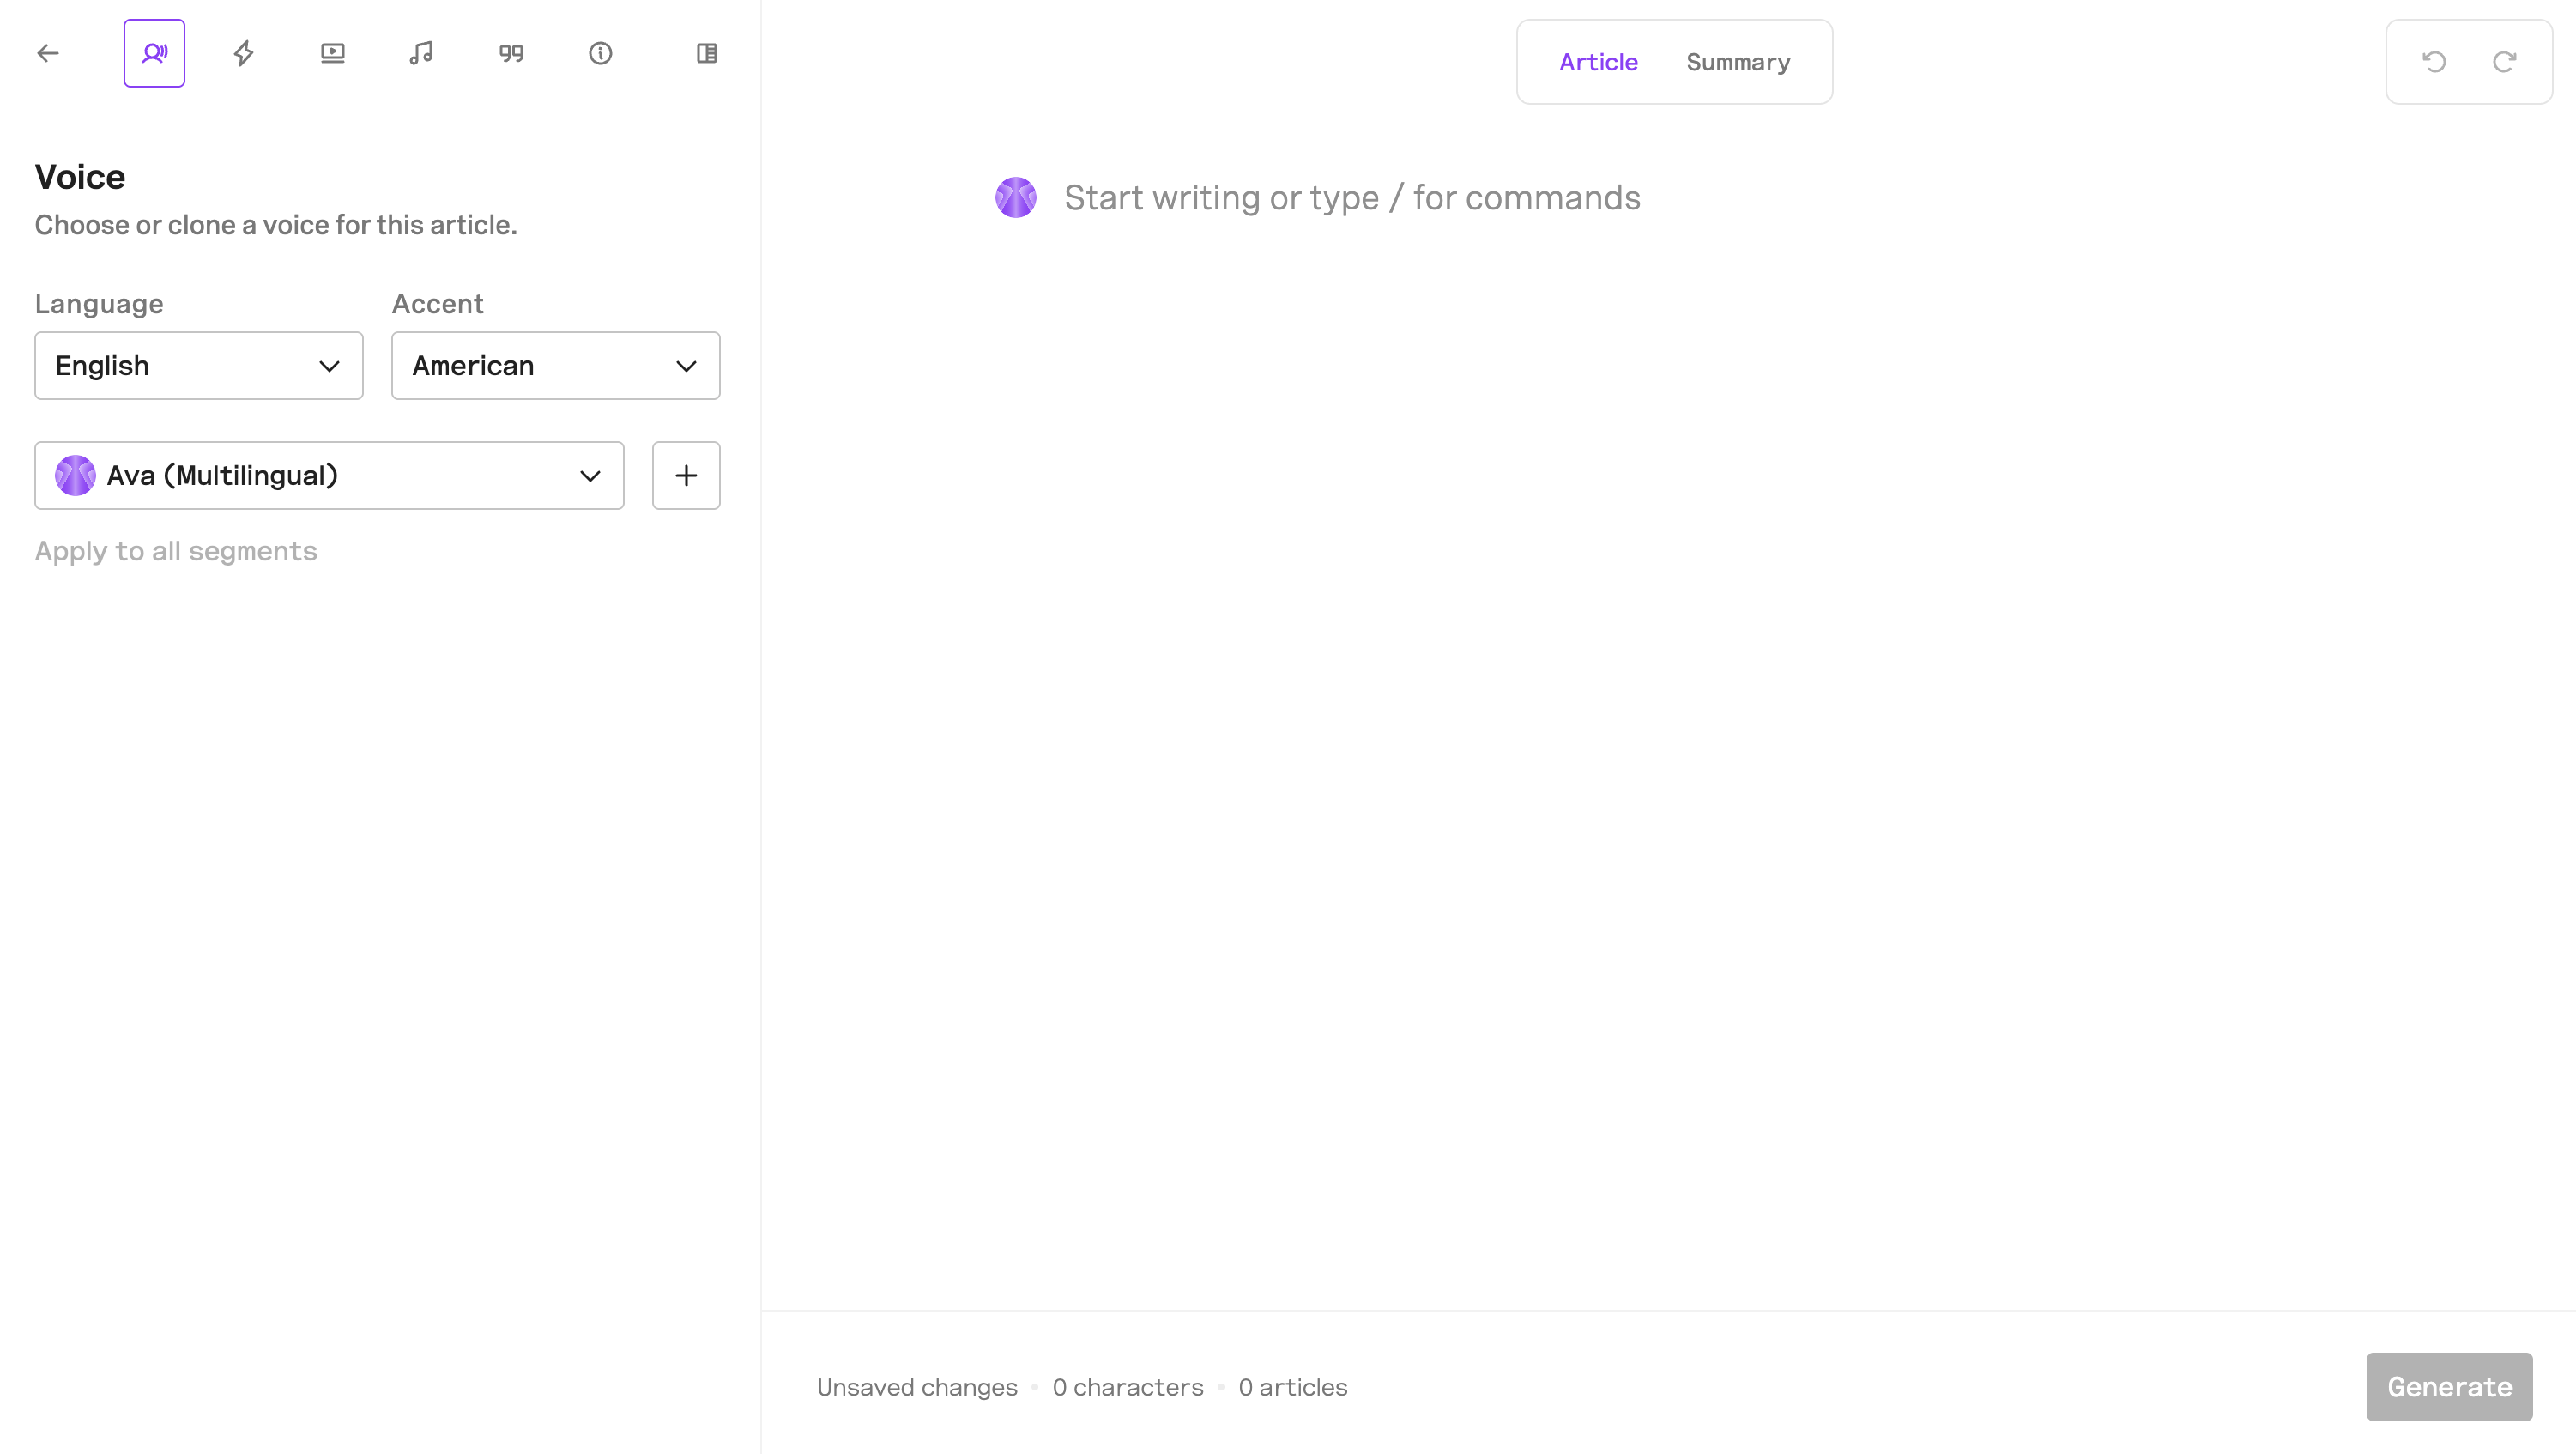
Voices
In the “Voices” tab, you can either select one of our premade voices or upload your own to create a custom voice clone for your articles.- Premade voice: Choose your preferred language and accent, then click the dropdown (
⌄) to view the available voices. To preview a voice, hover over the icon next to the name and click the play button. - Instant voice clone: To instantly clone a voice for your article, click the
+button and follow the instructions provided. You’ll need to record or upload a voice sample along with a consent statement.
Script
In the “Script” tab, you can create and manage a separate script for your article. This allows you to create different audio and/or video versions. You can write your own script manually or use a Script Template to generate one automatically using AI. Templates can define the structure, tone, and length of the generated script. To generate a script for an individual article:- Click “Choose template” to choose a Script Template or click “Create +” to create a new one.
- Click “Generate script” to instantly generate a script.
- Review and edit the generated script as needed or hit “Generate script” to get a different result.
Video
In the “Video” tab, you can manage your article’s video settings. Choose whether to generate a video for your article and/or script and customize it using the available options. The video will be created when you generate or update the article. For more detailed information on video settings and customization, visit the Video section of our documentation.Background track
In the “Background track” tab, you can enable/disable background music. This will apply to the audio and video versions of your article and script. If you want to include background music, you will need to select or upload an audio file. The track will be added at an appropriate volume when you generate or regenerate your content.Pronunciations
In the “Pronunciations” tab, you can configure which custom pronunciations will be applied when generating the audio and/or video for your article. Enable “AI preprocessing” to improve text normalization (e.g., ensure numbers and sports scores are interpreted correctly) and automatic language detection. You can enable AI preprocessing across your project in Content Preferences.This feature is in Beta. We recommend testing it to ensure compatibility with your content.
Info
The “Info” tab lets you update your article’s settings and metadata. Audio / Video visibility Choose whether the player should be public (visible) or private (hidden). Set when visibility should take effect by selectingOnce generated or Specific date.
Author
The article author. This data can be used to create Smart Playlists.
IDs
- ID: Copy the article content ID. This is the ID that we assign to the article after it’s generated.
- Source ID: Copy or edit the article source ID. This ID is user-defined at the time of audio generation. We recommend using the article ID from your CMS as the source ID.
- Source URL: Copy or edit the article source URL. We recommend using the article URL as the source URL.
All three IDs can be used as identifiers to initalise the player.
{ "category": "sport" }).
These properties can be used to power Smart Playlists and podcast feeds.
API updates
This toggle allows updates made via the API to override the existing article content and regenerate the audio. If disabled, API updates will be ignored, and the current content will remain unchanged unless updated in the Editor.
If you’re using the WordPress plugin, this setting applies to you too as the plugin is built on top of our API.
Play ads
Use this toggle to choose whether ads should be included in the audio article.No ads will be included in the audio article if you don’t have any ads in your project.
Right sidebar
Toggle sidebar button in the top right of the dashboard. This sidebar provides access to your article’s media and our Getty integration. This allows you to review existing media and add additional images or videos to enhance your content.
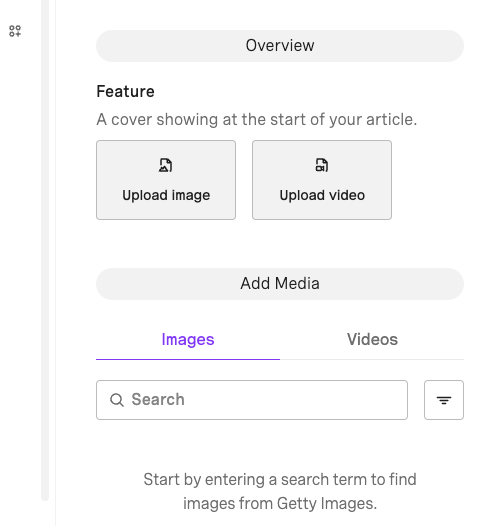
Feature
Allows you to upload or remove the feature image and feature video:- The feature image will be used as the cover image for generated video.
- The feature video will be used as the background video for generated video.
Add Media (Getty integration)
Use the Getty integration to add images and videos to your videos. You can:- Search Getty’s library using keywords
- Preview available images and videos
- Add selected media directly to your article or script
- Use added media when generating videos
Slash commands
Within the editor, you can type/ to open a list of available commands. Slash commands allow you to quickly insert and manage media within your article.
You can use slash commands to:
- Add audio
- Insert images
- Insert videos
Upload: Add media directly from your local deviceFrom assets: Select media using our Getty integration
Pauses
You can add pauses anywhere within the Editor to control the pacing of audio and video playback. To add a pause:- Click the end of a word or segment, or after punctuation
- Click “Insert pause”
- Enter the desired duration in seconds and click “Apply”
- Generate or regenerate your content